Here we will guide you through the steps of using Active Directory Federation Services (ADFS) as your IDP to configure your SAML2 SSO. Before starting the integration, you will need to contact StreamShark support to enable SSO on your account.
StreamShark supports SSO integration with both Video Player and Admin Portal, you will need to create 2 separate enterprise apps to handle each function. The setup process is very similar to each other, and we will use the Portal app setup as an example here to demonstrate the steps.
Set up Portal SSO app
Once your account has SSO enabled, you can navigate to https://app.streamshark.io/
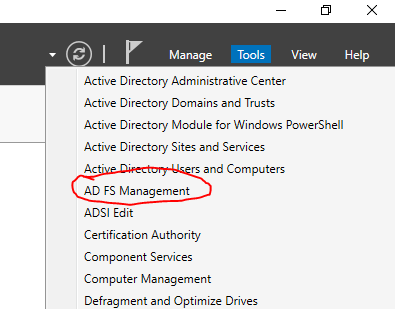
1) Access the AD FS Management section.
2) Select the 'Relying Party Trusts' and add a new one.

3) Go through the setup wizard using the following settings. Select 'Claims aware'.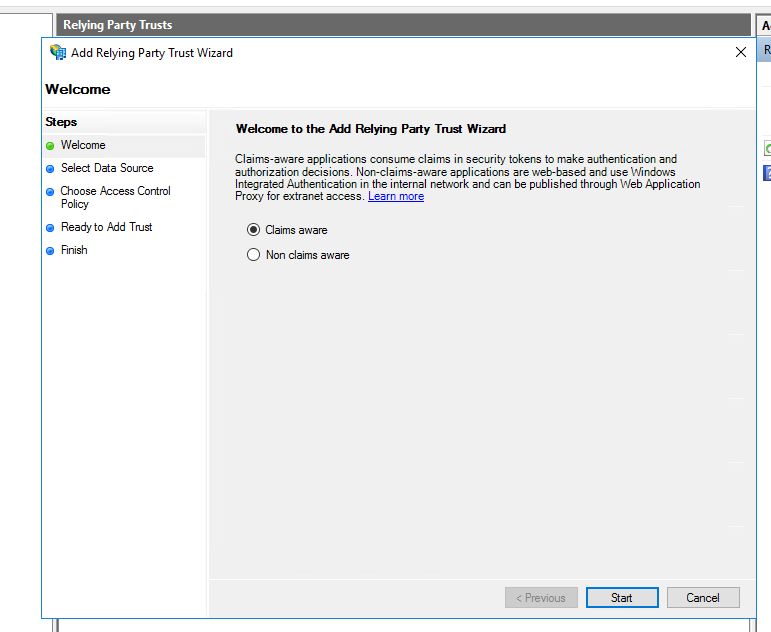
4) Select 'enter data about the relying party manually'.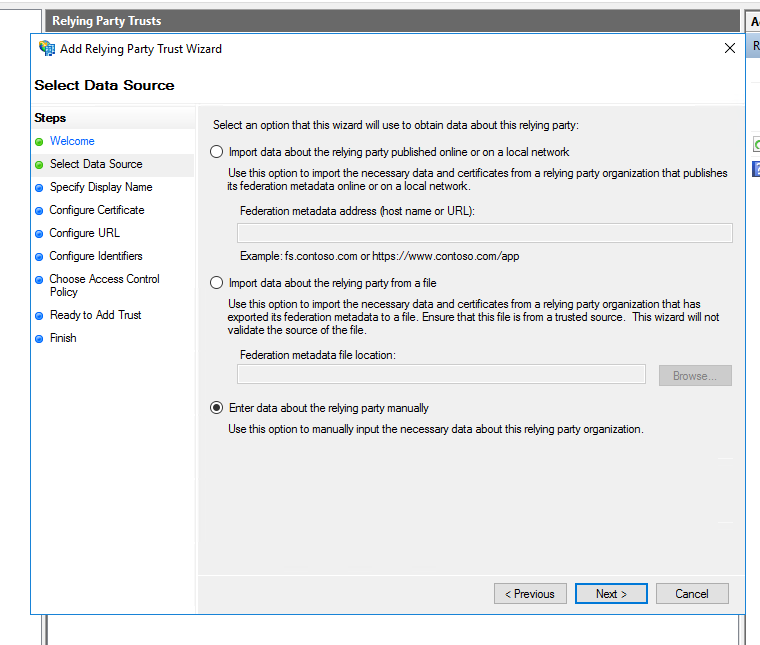
5) Enter a unique name for the relying party trusts.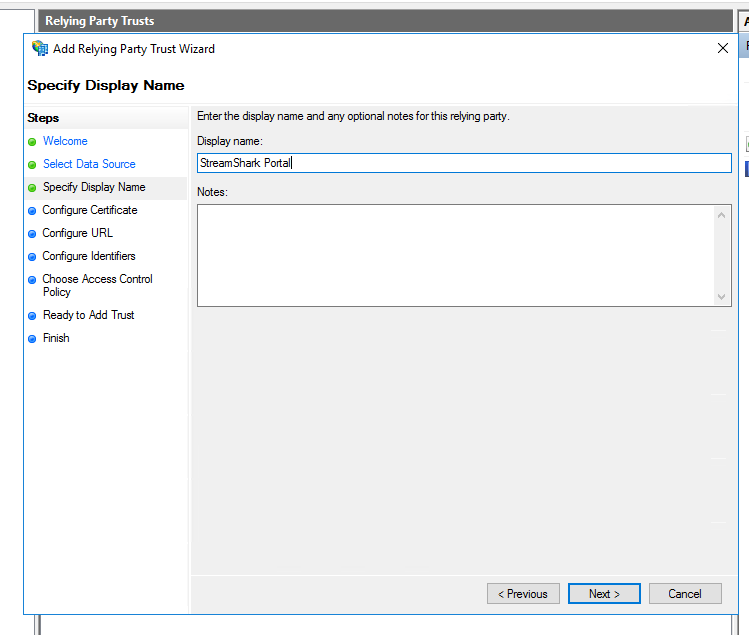
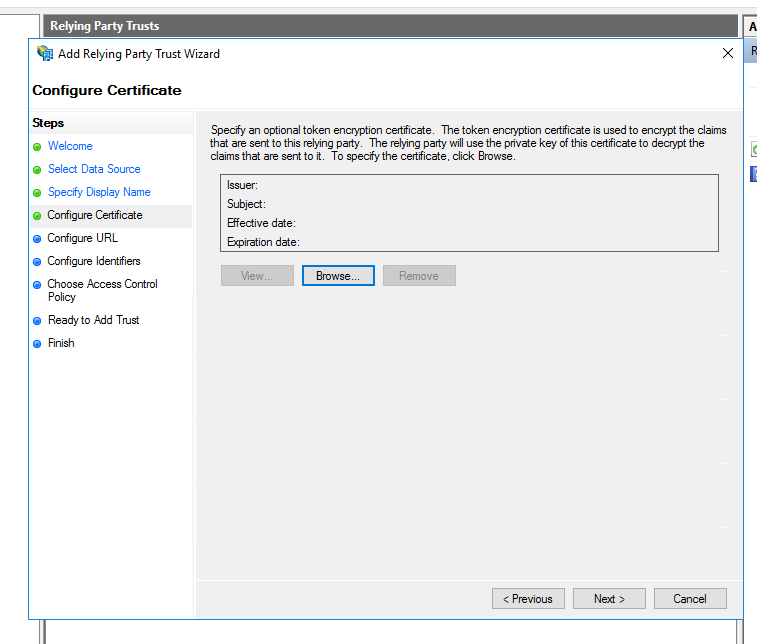
6) Leave this screen blank.
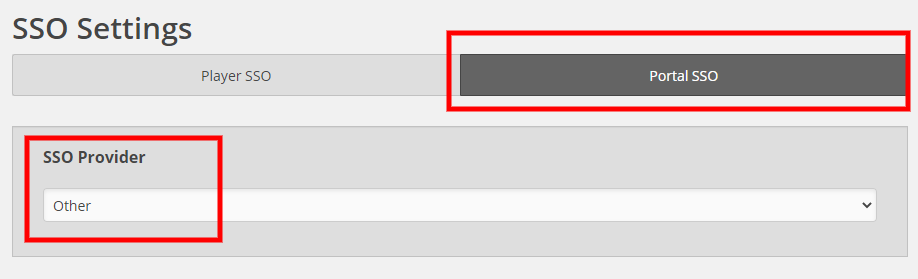
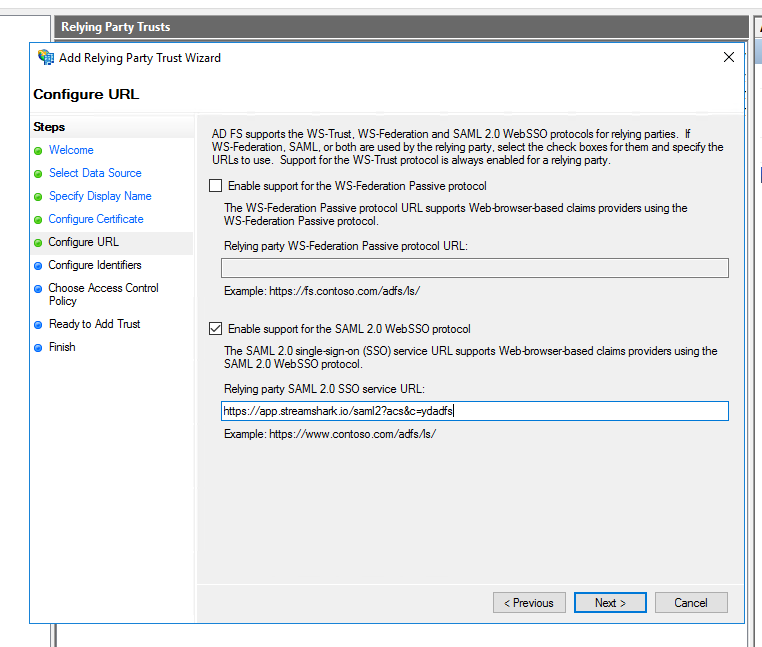
7) In the StreamShark portal get the 'SP ACS URL' value from the Portal 'SSO Settings' section (https://app.streamshark.io/custom#sso-settings).
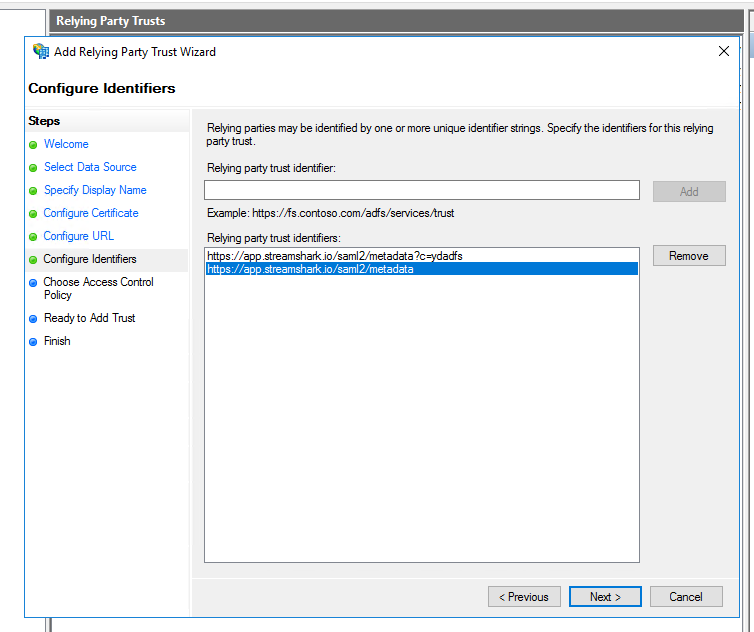
8) In the StreamShark portal get the 'SP Entity ID' value from the Portal 'SSO Settings' section (https://app.streamshark.io/custom#sso-settings). Additionally add the SP Entity ID minus '?c=<orgname>' e.g. https://app.streamshark.io/saml2/metadata. See example below.
9) In this setup we permit everyone to use this rule.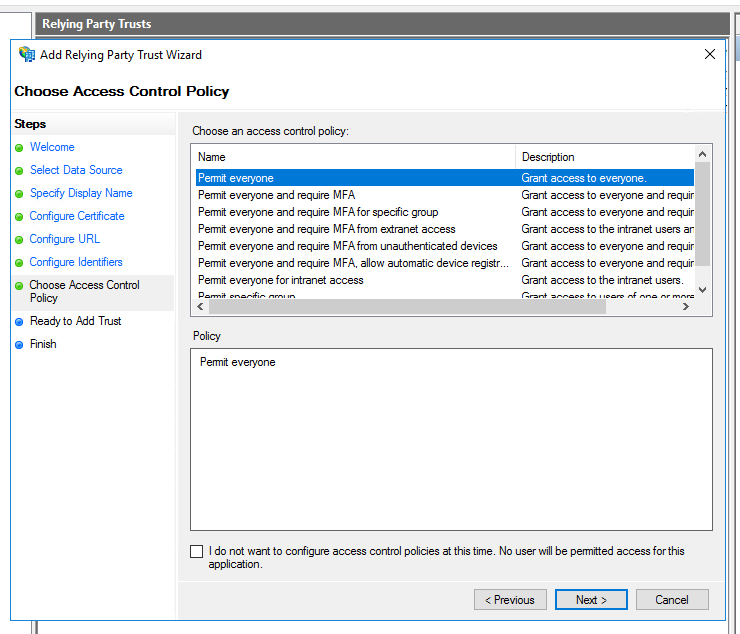
10) Now we'll setup the 'Claim Issuance Policy'. Right click on the Relying Party Trust and click 'Edit Claim Issuance Policy...'
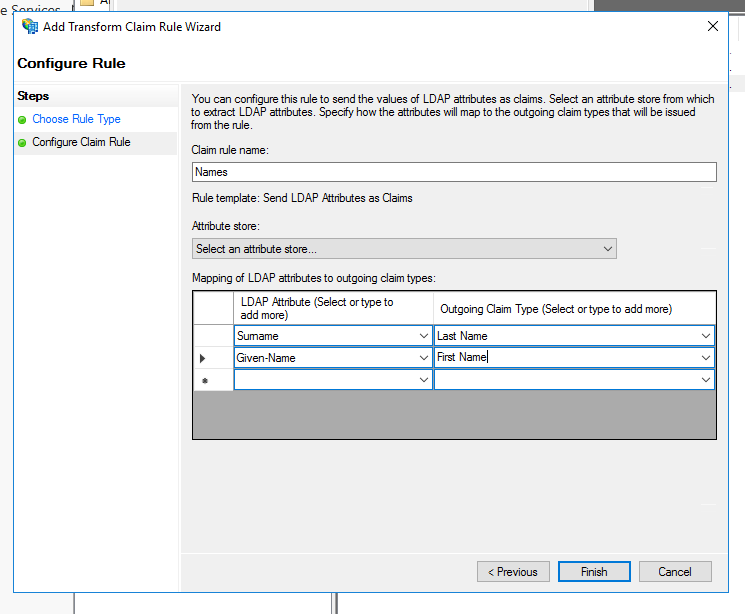
11) Add a new rule. Select 'Send LDAP Attributes as Claims'.

Use the following claim mappings.
12) Add a claim to transform Name ID to Email. Select the claim rule template 'Transform an Incoming Claim'.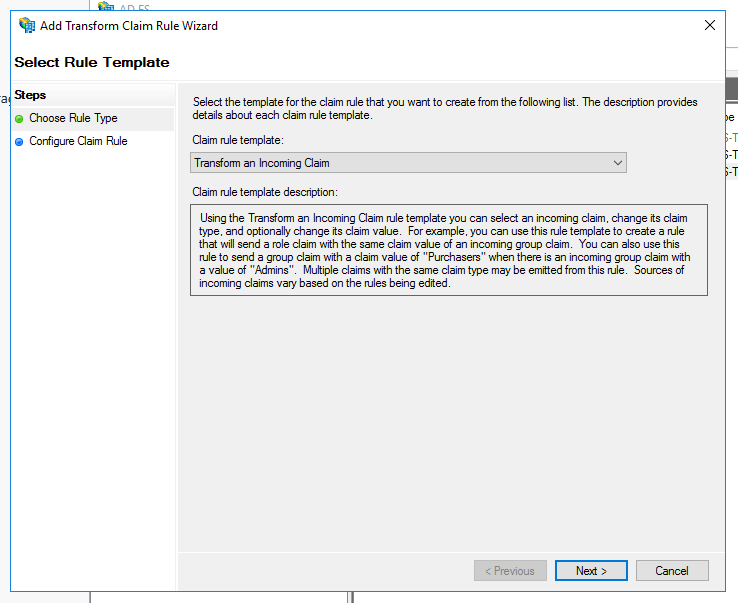
Use the below settings.

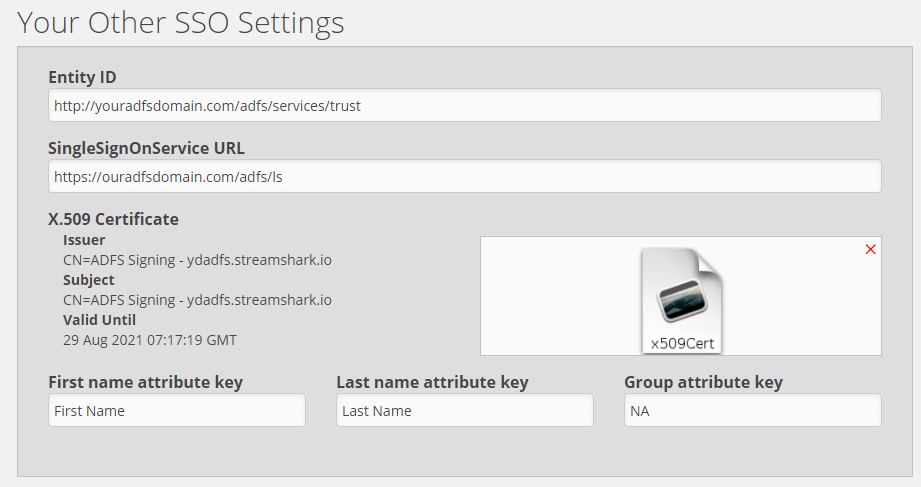
13) In the StreamShark portal (https://app.streamshark.io/custom#sso-settings) we now need to fill out the 'Your Other SSO Settings' values. Copy the format of the details below, replacing 'youradfsdomain.com' with the domain used for your ADFS installation. Next attach the relevant certificate, make sure it's a .pem file.
Fill out the attribute keys as set shown below. Please note we don't currently support groups for ADFS.
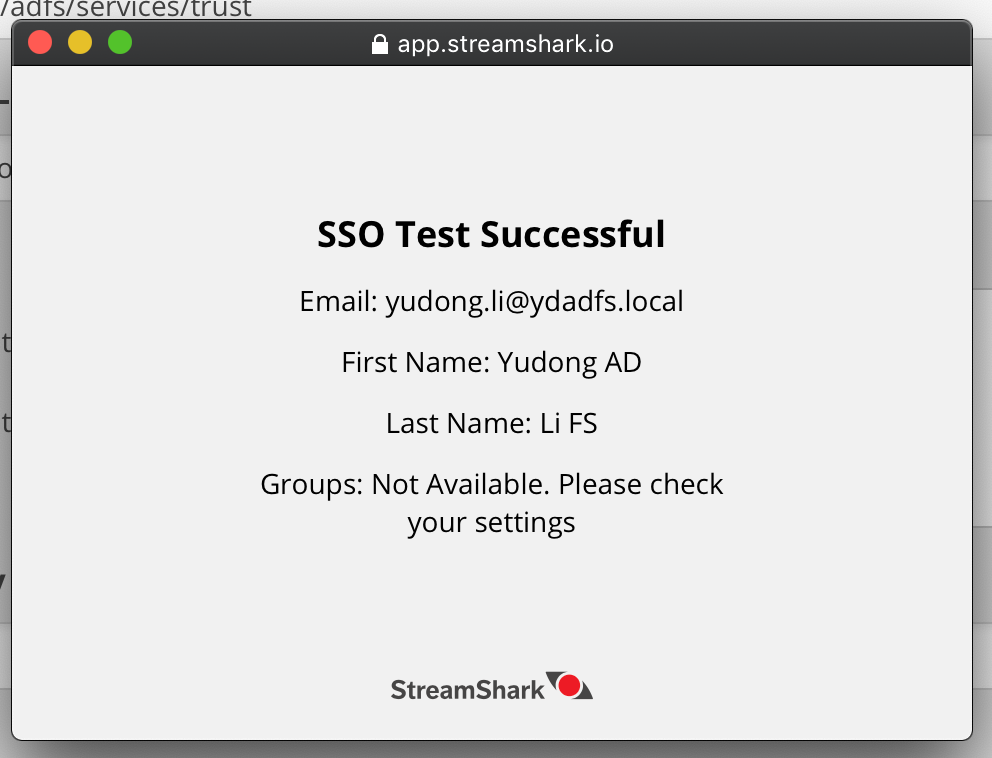
14) Finally we need to test the SSO installation. First click the 'save' button. Then click the 'Test' Button. If the test succeeds you should see the results below. If you've been successful you can now enable SSO.